
Wavlink AC1200 Outdoor Extender Setup
Introduction
The Wavlink AC1200 Extender Setup is a powerful device designed to extend the Wi-Fi coverage in your home or office. By amplifying and extending the wireless signal, it eliminates dead zones and provides reliable connectivity to areas that were previously out of range. In this comprehensive guide, we will walk you through the step-by-step setup process for the Wavlink AC1200 Aerial Extender, ensuring that you can enjoy seamless and uninterrupted internet access throughout your space. So, let’s get started!
Table of Contents:
- Understanding the Wavlink AC1200 Aerial Extender
- Preparing for Setup
- Physical Installation
- Connecting to the Extender
- Configuring the Wavlink AC1200 Aerial Extender
- Troubleshooting Common Issues
- Advanced Settings and Optimization
- Conclusion
- Understanding the Wavlink AC1200 Aerial Extender
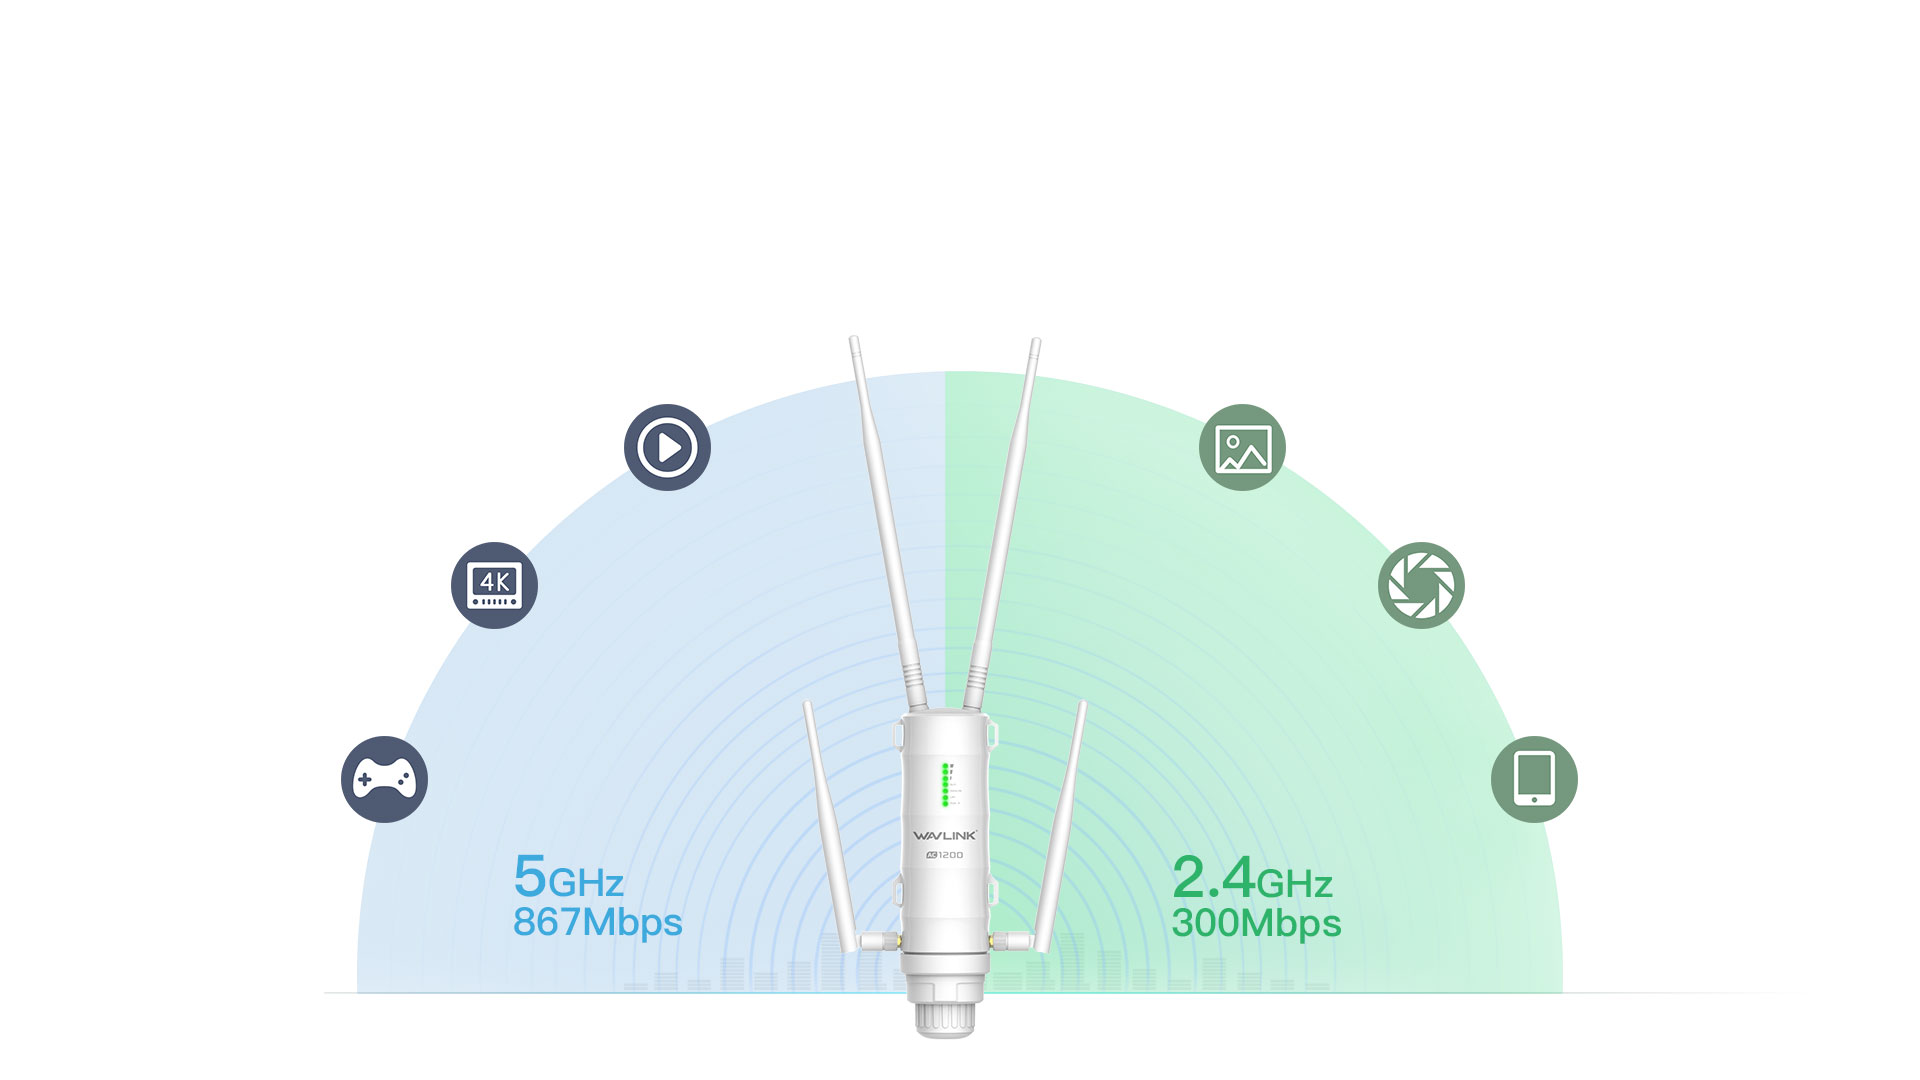
Before we dive into the setup process, it’s essential to have a clear understanding of the Wavlink AC1200 Aerial Extender and its key features. This dual-band extender operates on both the 2.4GHz and 5GHz frequency bands, allowing you to enjoy faster speeds and reduced interference. It offers a maximum wireless speed of up to 1200Mbps, ensuring a seamless browsing, streaming, and gaming experience. Additionally, the extender is equipped with high-gain antennas to extend the Wi-Fi coverage over a broader area.
Preparing for Setup
To ensure a smooth installation process, you need to gather a few things before setting up the Wavlink AC1200 Aerial Extender. Firstly, ensure that you have a stable internet connection and a Wi-Fi router. It is also crucial to have an Ethernet cable and a device with a web browser (such as a laptop, smartphone, or tablet) for the configuration process. Make sure you have the Wavlink AC1200 Aerial Extender and its power adapter readily available as well.
Physical Installation
To set up the Wavlink AC1200 Aerial Extender physically, follow these steps:
- Find an optimal location: Place the extender in an area where it can receive a strong wireless signal from your router. Ideally, it should be halfway between your router and the area where you need improved coverage.
- Power on the extender: Connect the extender to a power outlet using the provided power adapter.
- Wait for the LED indicators: After plugging in the extender, wait for the LED lights to stabilize. This indicates that the extender is powered on and ready for configuration.
Connecting to the Extender
To establish a connection between your device and the Wavlink AC1200 Aerial Extender, proceed as follows:
- Access the Wi-Fi settings: On your device, go to the Wi-Fi settings menu and look for available networks.
- Connect to the extender: Locate the network name (SSID) of your extender, which should be labeled on the extender or in the user manual. Connect to the extender’s network using the provided password.
- Verify the connection: Once connected, you should see the Wi-Fi signal strength bars on your device’s Wi-Fi icon.
Configuring the Wavlink AC1200 Aerial Extender
To configure the Wavlink AC1200 Aerial Extender, follow these instructions:
- Open a web browser: Launch a web browser on your device and enter the default IP address of the extender (e.g., 192.168.10.1) into the address bar.
- Enter login credentials: You will be prompted to enter the login credentials. If this is your first time accessing the extender, use the default username and password (usually “admin” for both).
- Follow the setup wizard: The extender’s web interface will guide you through a setup wizard. It will ask you to select your language, connect to your existing Wi-Fi network, and set up a new SSID and password for the extended network.
- Apply settings: Once you have completed the setup wizard, review the settings you have entered and click on the “Apply” or “Save” button to save the changes.
- Restart the extender: After applying the settings, the extender will restart and establish a connection to your existing Wi-Fi network using the new SSID and password.
Troubleshooting Common Issues
During the setup process, you may encounter some common issues. Here are a few troubleshooting tips:
- Signal strength: Ensure that the extender is placed in an optimal location to receive a strong signal from your router.
- Incorrect credentials: Double-check the SSID and password you entered during the configuration process to ensure they match your router’s settings.
- Firmware updates: Visit the manufacturer’s website to check for any available firmware updates for your extender. Upgrading to the latest firmware can resolve compatibility issues and improve performance.
Advanced Settings and Optimization
Once you have successfully set up the Wavlink AC1200 Aerial Extender, you can explore advanced settings and optimization options. These may include adjusting transmit power, setting up guest networks, enabling parental controls, and more. Refer to the user manual or the extender’s web interface for detailed instructions on accessing and modifying these settings.
Conclusion
Setting up the Wavlink AC1200 Outdoor Extender Setup is a straightforward process that can significantly improve your Wi-Fi coverage and eliminate dead zones. By following the step-by-step instructions in this guide, you can ensure a seamless setup experience and enjoy enhanced connectivity throughout your home or office.
Wavlink Wing AC1200 Outdoor WiFi Extender Setup
To install the Wavlink AC1200 using the WPS technique, follow the instructions below:
- Connect the Wavlink AC1200 Outdoor Extender to a power source.
- Wait for the solid blue light to illuminate, indicating that the extension is turned on.
- Push the WPS button on the extender now.
- Then, on the wireless router or modem, press the WPS button.
- Do not unplug the AC1200 while the extender’s LED is flashing.
- The Wavlink AC1200 setup using the WPS technique is now complete.
- On the WIFI repeater, the power, client, device, and WPS all become solid green.
- Place the Wavlink Outdoor Extender where the weak signals are. Also, make sure you have excellent WiFi connectivity.
Wavlink Wing 12m Outdoor Range Extender Setup | Manual Method
Let’s take a brief look at how to install Wavlink Wing outdoor Extender manually:
- Connect your Wavlink Outdoor extender to the primary router/modem.
- Once you notice the extender’s firm power light.
- Take out any wifi device, such as a phone, tablet, or laptop.
- Then, on your wifi device, go to the settings menu and select the wifi option.
- A network name will be shown. Wavlink Extender Installation_Ext
- Following your connection to the ‘EXT’ network
- Launch any web browser and enter ap.setup into the URL box.
- On the screen, you will see a new extension setup page.
- Install/connect the extender by following the AP Extender Setup instructions.
Wavlink Quantum d4g Extender Setup | Quantum D4G WiFi Range Extender Setup
- Connect the Quantum d4g Extender to a power supply that is nearby.
- Your Wavlink d4g Extender should now be close to your router.
- Connect your wifi device to the Ap extender setup _Ext network at this time.
- Launch any web browser and enter Ap.setup into the URL box.
- You’ve arrived at the Wavlink Quantum d4g Extender setting screen.
- Create an AP Login account and follow the directions on the screen.
- Once identified, the Quantum d4g Extender will increase the network. Furthermore, the SSID and password for both the extended and normal networks will be the same.
- All you need to do now is log in with your current password and you’re good to go.
Note: If you Face any Trouble Regarding Wavlink Quantum d4g Extender Setup , Feel free to reach us.