
How to Clean your Kitchen Sink
How to Clean your Kitchen Sink
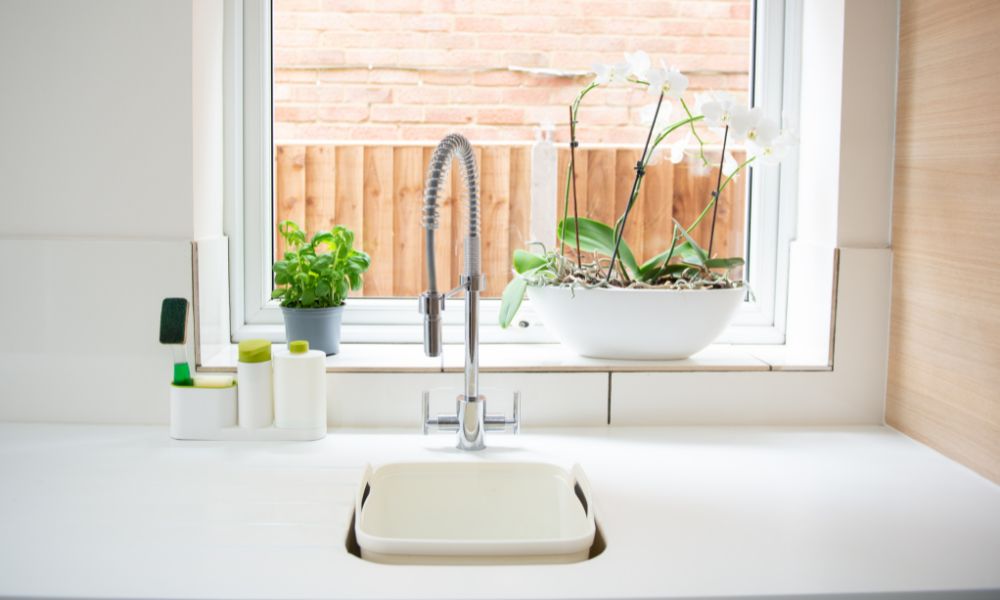
Cleaning your kitchen sink is essential for maintaining a healthy and hygienic cooking space. But did you know that there are different methods to clean different types of sink materials? For example, if you have a stainless steel sink, you can use mild dishwashing soap and water to remove any greasy residue or food particles. However, for porcelain sinks, it’s best to avoid abrasive cleaners as they can scratch the surface. Instead, opt for a mixture of baking soda and water or vinegar to gently scrub away stains and grime.
Another factor to consider when cleaning your kitchen sink is the type of faucet you have. Some faucets can accumulate mineral deposits over time, making them look dull and affecting their functionality. To tackle this issue, try using a solution of equal parts white vinegar and water. Soak a cloth in the mixture, wrap it around the faucet, and let it sit for about 15 minutes before wiping it clean.
Cleaning your kitchen sink is an essential part of maintaining a clean and sanitary kitchen. Here’s a step-by-step guide on how to clean your kitchen sink effectively:
Step 1: Gather Your Cleaning Supplies
Before you begin, gather the necessary cleaning supplies:
- All-purpose cleaner or a kitchen sink-specific cleaner
- Baking soda
- White vinegar
- Soft cloth or sponge
- Old toothbrush (optional)
- Rubber gloves
- Microfiber cloth or paper towels
Step 2: Declutter the Area
Remove any dishes, utensils, and other items from around the sink. Clearing the area will make cleaning easier.
Step 3: Rinse the Sink
Start by rinsing the sink with warm water to remove loose debris and food particles.
Step 4: Apply Cleaner
Apply an all-purpose cleaner or a kitchen sink-specific cleaner to the sink’s surface. Be sure to follow the manufacturer’s instructions regarding the product’s use Cleaning Companies in Qatar.
Step 5: Scrub the Sink
Use a soft cloth or sponge to scrub the sink’s surface. Pay extra attention to any areas with visible stains or food residue. If necessary, you can use an old toothbrush to scrub hard-to-reach or tight spots.
Step 6: Address Stains and Discoloration
For stubborn stains or discoloration, create a paste by mixing baking soda and a small amount of water. Apply the paste to the stained area and gently scrub with a cloth or sponge. Baking soda is an effective abrasive that can help remove tough stains.
Step 7: Rinse Thoroughly
Rinse the sink thoroughly with warm water to remove any cleaner or residue. Be sure to rinse the faucet and handles as well best cleaning company.
Step 8: Deodorize and Shine
For extra shine and to remove any lingering odors, you can use white vinegar. Pour a small amount of white vinegar into the sink and spread it evenly. Let it sit for a few minutes before rinsing with warm water.
Step 9: Dry and Polish
Use a microfiber cloth or paper towels to dry the sink thoroughly. This will help prevent water spots and streaks.
Step 10: Maintain the Drain
To prevent clogs and odors, it’s a good practice to clean the sink’s drain. You can pour a mixture of baking soda and white vinegar down the drain, followed by hot water. This can help break down buildup in the pipes.
Step 11: Replace Items
Once the sink is clean and dry, return any items you removed from the area during the cleaning process.
Step 12: Regular Maintenance
To keep your kitchen sink looking its best, make a habit of cleaning it regularly, ideally after each meal preparation or at least on a weekly basis. This will prevent the buildup of grime and make your cleaning tasks more manageable.
By following these steps and maintaining a regular cleaning routine, you can keep your kitchen sink clean and hygienic. A clean sink not only looks appealing but also contributes to a healthier kitchen environment.